As an Amazon Associate, I earn from qualifying purchases.
Today, we’ll be discussing how to properly wire a Ring camera for optimal functionality and security. This step-by-step guideline will walk you through the process, ensuring that you have a clear understanding of how to set up your camera for maximum effectiveness. Whether you’re a first-time user or just need a refresher, this guide will provide valuable insight into the wiring process. Let’s get started!
Gather all necessary tools and equipment to wire ring camera
Before you start wiring your Ring camera. You will need a screwdriver, wire strippers, wire connectors, electrical tape, and a power source for the camera. Make sure you have all of these items on hand before you begin the wiring process. Once you have everything you need, you can begin wiring your Ring camera by following the step-by-step.
Remember to always prioritize safety and use caution when working with electrical wiring. By following the proper steps and using the right tools, you can ensure that your Ring camera is wired correctly and ready to provide you with the security and peace of mind you desire.
Choose the location for your Ring camera
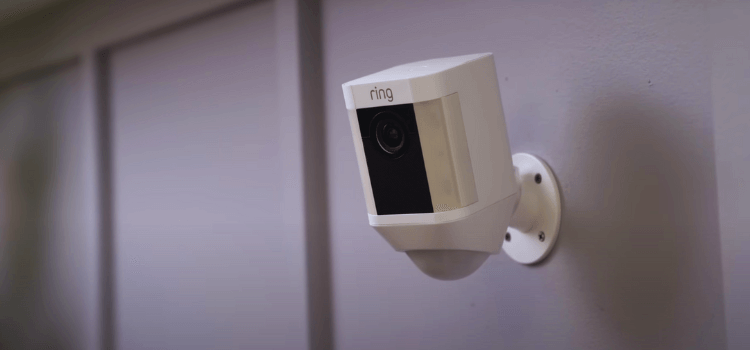
Choosing the right location for mounting a Ring camera is important for ensuring that it captures the best possible footage and provides the most effective security for your home. When selecting a location, consider areas where there is ample natural light and minimal obstruction. It’s best to place the camera at a height of around 9 feet for optimal coverage.
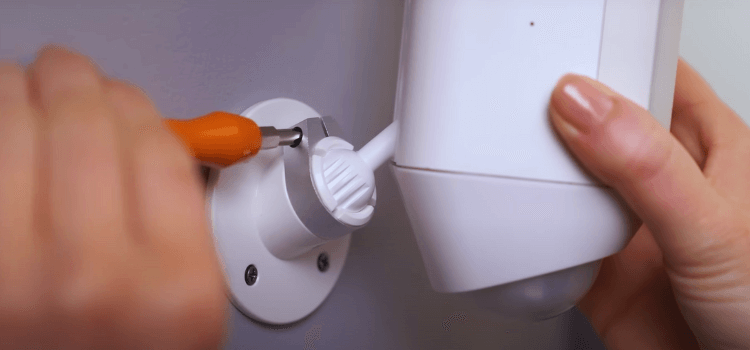
Install the mounting bracket
It is an important step in setting up your Ring camera. The mounting bracket is what holds the camera in place and ensures that it is secure and stable. To install the mounting bracket, follow these simple steps:
1. Locate the area where you want to install the camera and use a pencil to mark the spots where you will be drilling holes for the screws.
2. Use a drill to create the necessary holes for the screws, making sure that the bracket is level and secure.
3. Once the holes are drilled, use the provided screws to attach the mounting bracket to the wall.
4. Make sure that the bracket is firmly in place and that the camera will be able to mount onto it securely.
By following these steps, you can ensure that your mounting bracket is properly installed and ready for you to mount your Ring camera.
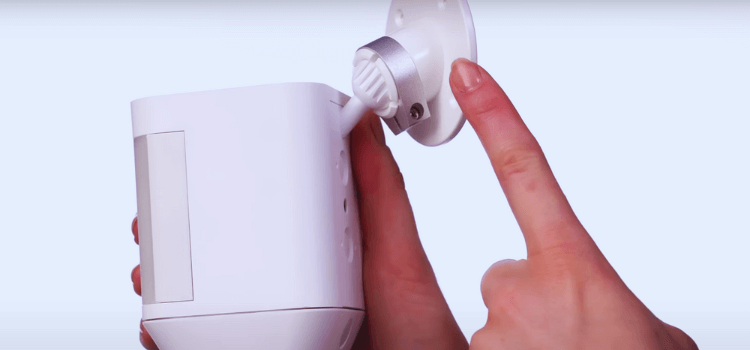
Connect the wires to the camera
It is an essential step in setting up your Ring camera. It is important to follow the instructions carefully and make sure the wires are properly connected for the camera to function correctly. To connect the wires, follow these simple steps:
1. Identify the power source and ensure that the camera is turned off before connecting any wires.
2. Use the provided wire connectors to securely attach the wires from the camera to the corresponding wires from the power source.
3. Once the wires are connected, double-check to ensure that they are firmly attached and that there are no exposed wires.
4. Once the connections are secure, you can turn on the camera and test to make sure it is working properly.
By following these steps, you can ensure that the wires are properly connected to the camera, allowing it to function effectively and provide the security and monitoring you need.
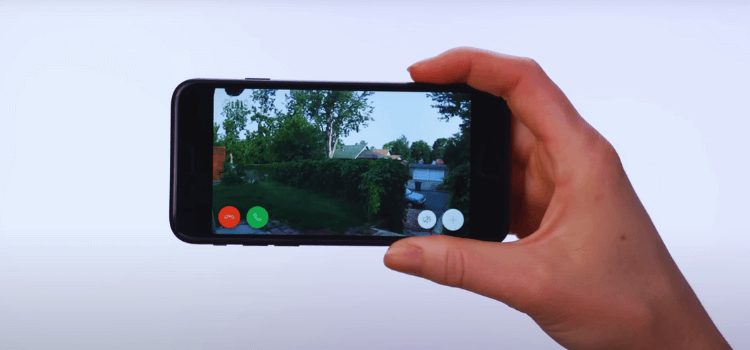
Test the camera to ensure it is working properly
To make sure that your camera is working properly, you can follow these simple steps. First, check the power source and make sure that the camera is receiving power. Then, check the connection to the Wi-Fi network to ensure that the camera is properly connected. Next, test the camera by recording a short video and checking the quality of the footage.
You can also move the camera around to different locations to test its range and coverage. Lastly, make sure to check the camera’s settings and features to ensure that everything is functioning as it should. By following these steps, you can ensure that your camera is in good working condition and ready to use for your security needs.
Adjust the camera settings as needed
To ensure that you capture the best possible footage, it’s important to adjust the camera settings as needed. Start by checking the resolution, frame rate, and exposure settings to make sure they are suitable for your recording environment. You may also want to adjust the focus, white balance, and audio levels to ensure high-quality recordings.
Don’t be afraid to experiment with different settings and see what works best for your needs. Keep in mind that the right settings can make a big difference in the quality of your footage, so take the time to adjust them as needed. By doing so, you’ll be able to capture the best possible footage with your camera.
Enjoy the added security
It is really enjoyable to have a Ring camera properly wired in your home. This simple and easy process will give you peace of mind knowing that your property is being monitored and protected. By following these steps, you can ensure that your camera is set up correctly and ready to provide you with the added security you need. Don’t wait any longer to wire your Ring camera and enjoy the benefits of enhanced safety and protection for your home.
Conclusion
In conclusion, wiring a Ring camera is a fairly straightforward process. Make sure to carefully follow the instructions and take the necessary safety precautions. It’s important to ensure that the camera is securely mounted and properly connected to power and your Wi-Fi network. If you encounter any difficulties, don’t hesitate to reach out to Ring’s customer support for assistance.
As an Amazon Associate, I earn from qualifying purchases.
Leave a Reply